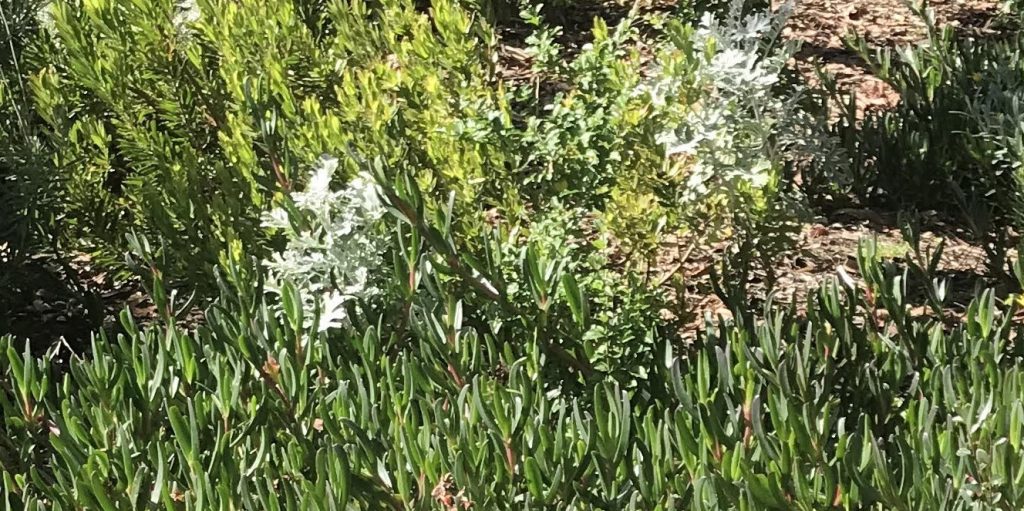
This is our recommended 5 stage process, from our Indigenous Nature Strips Guidelines. The full document is available for download on the Links and Resources page.
For further information on Stonnington Council’s on line permit application process, see the Council website.
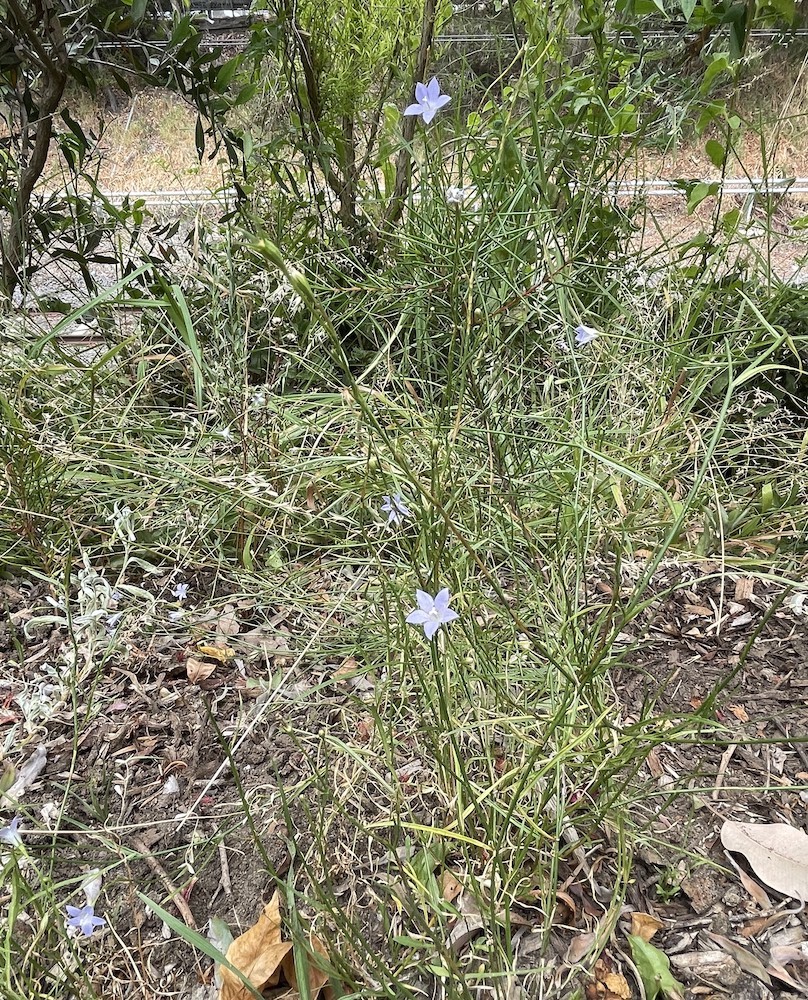
1. Assess the site including orientation, sun directions throughout the day, soil type and health, pathways and access points. Check the Council Handbook, determine overall approach and suitability for approval. Check for risks including from passing traffic and any obstacles on site. Survey existing vegetation including trees; street trees on site will require special attention to avoid interfering with root systems. Talk to your neighbours! to ensure the project has their support and if possible, participation. If you are working in collaboration with Rewilding Stonnington, share information with us and discuss the level of support you require.
2. Finalise design template and plant selection, from approved/recommended list. Prepare documentation required for Council approval including site identification, simple design (or template selection), plant list ditto. Do a Before You Dig Australia check for any service, right of way or other approval issues. Submit application!
3. Fix the date for your first working bee, according to the expected approvals timeline. Be flexible: local seasons and weather may influence the best time to begin (best seasons for planting with indigenous and endemic plants are autumn-winter into spring). The first task is to discourage exotic vegetation and prepare the soil. You may need to mow, scalp and/or scarify the site, remove roots, even sift the soil to remove bulbs and tubers by hand. Take special care around tree roots. Please note we don’t recommend the use of weed killer in domestic settings. Plastic sheeting is generally to be avoided; biodegradable weed matting is available but can be expensive. You could try other methods for deterring weed growth such as (preferably) organic section barriers, laying newspaper or cardboard, or pegging down cotton sheeting. Whatever approach you choose at this stage, finish with a good thick layer of mulch!
4. Over the next couple of weeks/months, check for new growth and remove weeds. Fix the date and issue invitations for your second and subsequent working bees – remember that more than one planting session may be required. Allow keystone plants like strappy plants, grasses and bushy plants to establish, before adding fussier/more fragile feature plants. And don’t forget to finish each session with a convivial get together, it’s great to share that sense of achievement!
5. Ensure ongoing effective maintenance, according to site and seasonal requirements. Regular checks and hand weeding will be needed while plants establish; after that, once every couple of weeks (or months during winter), should be sufficient. In our opinion, indigenous plantings need not as a general rule be irrigated; although watering by hand or hose may be advisable while plants establish or during extended periods of drought. When in doubt, add more mulch …
Remember that plants will respond in different ways to seasonal and climatic conditions. As your nature strip continues to establish, you will observe how plants respond to the conditions of your particular site. You can adjust plant choice and position accordingly, but don’t rush it. Give it time, bearing in mind the ultimate goal is as far as possible, to foster a self-sustaining strip requiring minimal intervention.
The main message is it can be done! The effort is worth it, the benefits are great – a small but meaningful contribution to the local environment, to the community and to your own and your neighbours’ wellbeing and satisfaction.